Steel Structure Erection Checklist for Site Supervisors
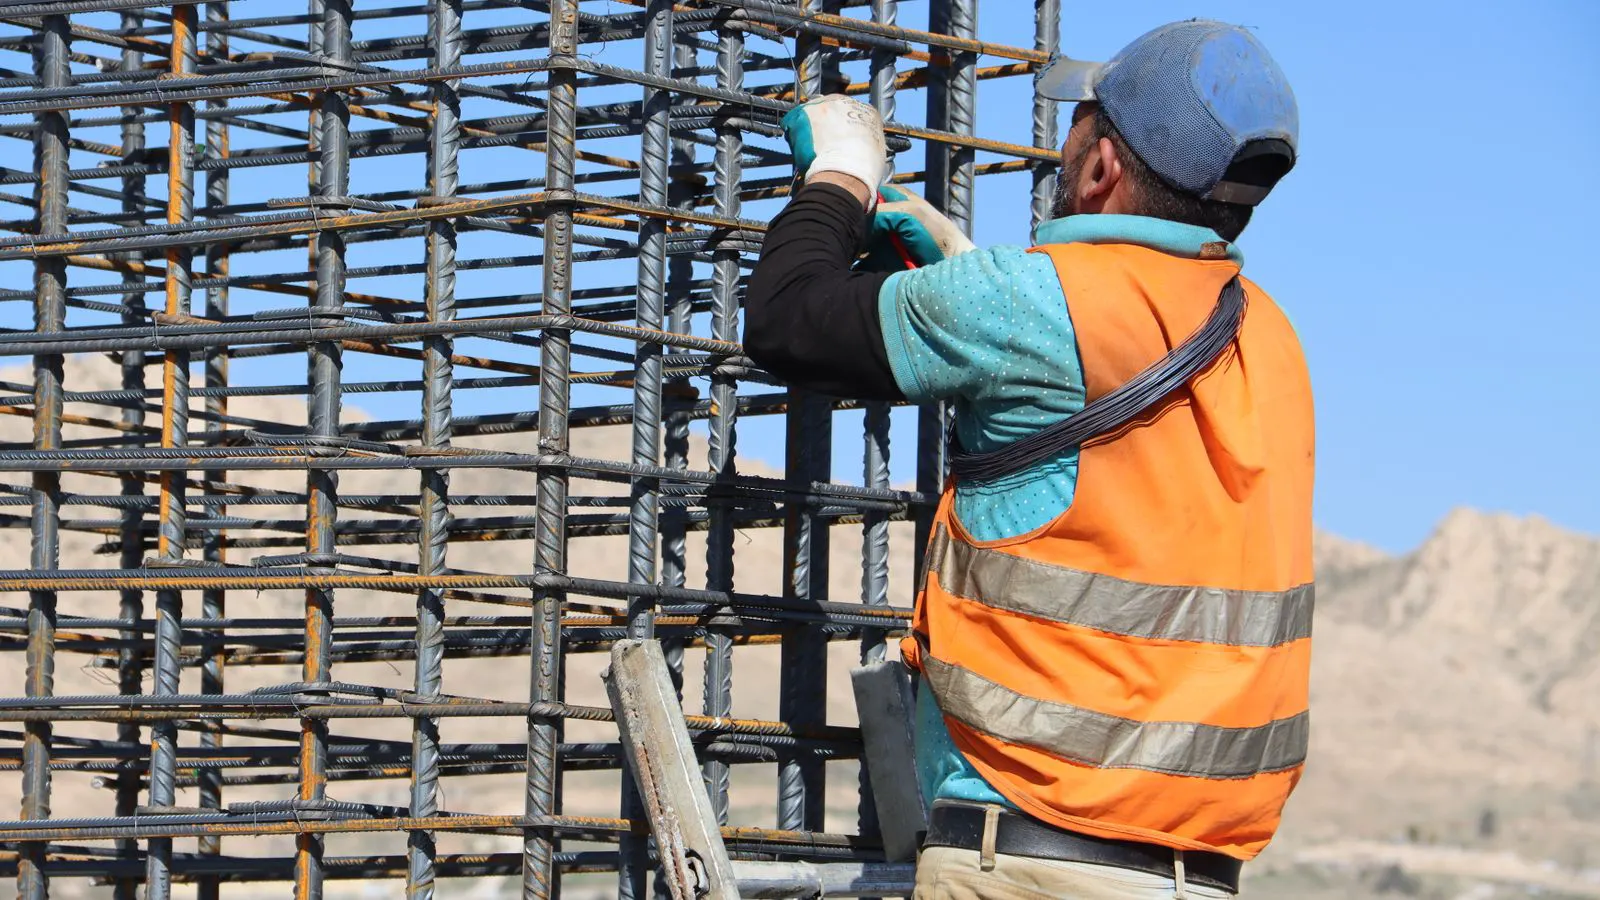
A site supervisor needs a clear steel erection checklist to verify safety, sequence, and quality. This guide breaks the process into themed numbered items with red flags, helping you catch errors before they become safety risks or rework costs.
- A steel erection checklist should be grouped by theme so supervisors can work through safety, sequence, and quality in a logical order.
- Red flags are often visible in small details like anchor bolt torque, bracing gaps, and unsecured loads.
- The erection sequence must match the engineered drawings and the site conditions on the day of work.
- Document every check with photos and notes before signing off the next phase.
Start with the Site Safety Baseline
Before any crane hook lifts a beam, the site needs a safety baseline that is current and enforced. This is not a formality. It is the first line of defense against the most common erection injuries.
- Verify the daily toolbox talk log. Confirm the topic covers the specific task planned for the day. Do not accept a generic safety briefing when the crew is lifting a 30-ton portal frame.
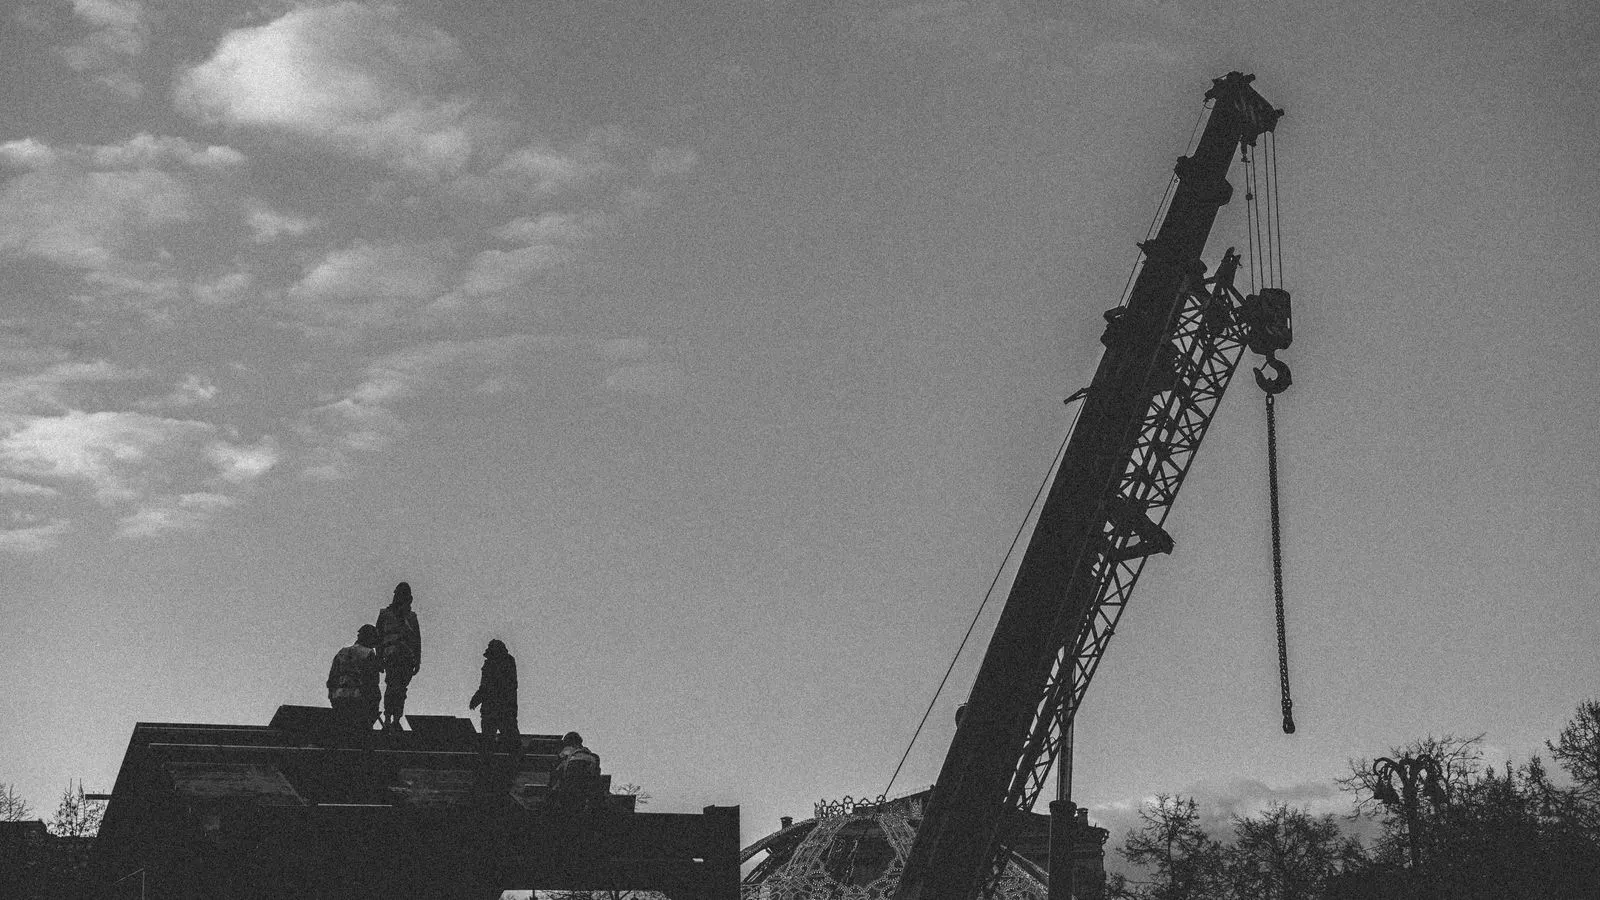
- Check the exclusion zone layout. The area under the crane load and the swing radius must be marked with barriers or cones. Ensure the zone is large enough for the heaviest lift planned.
- Confirm all personal protective equipment is in hand and worn. Hard hats, high-visibility vests, safety shoes, and full-body harnesses for elevated work.
- Inspect the weather conditions. Wind speed, visibility, and lightning risk can change quickly. Have a clear stop-work trigger defined before the first lift.
- Review the lift plan. The certified lift plan must match the actual crane, rigging gear, and load. A lift plan written for a different crane or a different load is a red flag.
Red flags to watch for:
- Missing or damaged rigging slings.
- No competent person assigned to direct the lift.
- Workers standing in the exclusion zone without authorization.
- Wind speed near or above the crane manufacturer limit.
Confirm the Erection Sequence Matches the Plan
The erection sequence is the roadmap for the entire installation. If you deviate from it without engineering approval, you risk structural instability and safety incidents.
- Match the sequence to the engineered erection drawing. The drawing shows the order in which each member must be placed.
- Check that the sequence supports self-stability. Each phase should be stable enough to support the next phase. A portal frame that is not braced laterally before the roof load is applied is a red flag.
- Verify the crane plan. The crane must be positioned to place members in the correct order. If the crane cannot reach a member in the planned sequence, the sequence needs adjustment.
- Confirm the material staging. Members must be on the ground in the order they will be used. Staging out of sequence causes confusion and delays.
- Review the critical path. Identify which members must be in place before others can be attached. A single delayed anchor bolt can stop the entire sequence.
Red flags to watch for:
- Crew trying to place a roof purlin before the main beams are plumb.
- Members staged in a different order than the drawing.
- No backup plan for a delayed crane.
Verify Foundation and Anchor Bolt Quality
The foundation is the anchor point for the entire structure. If the anchor bolts are wrong, everything else is built on a shaky base.
- Check the anchor bolt torque. Use a calibrated torque wrench. Record the values.
- Inspect the grout. The grout must be solid and free of voids. A hollow grout cavity will not hold the load.
- Verify the bolt protrusion. The bolts should protrude the correct amount above the base plate. Too little means the plate cannot sit flat. Too much means the base plate will rock.
- Confirm the base plate is level and seated. Use a level or laser to check. Any gap between the plate and the pad needs shimming or rework.
- Check the embedment depth. The bolts must be set at the correct depth in the concrete. Shallow embedment reduces pull-out capacity.
Red flags to watch for:
- Anchor bolts bent or stripped.
- Grout that crumbles under pressure.
- Base plate rocking or lifting at one corner.
Control Member Placement and Alignment
The quality of the erection is determined by how well each member is placed and aligned. Small errors at the bottom become large errors at the top.
- Check the member is plumb. Use a plumb bob or laser level. A beam that is out of plumb will cause stress in the connections.
- Verify the connection is clean. The mating surfaces must be free of dirt, paint, and rust. A dirty connection reduces bolt bearing area.
- Confirm the bolt torque sequence. Follow the engineered tightening sequence. Do not skip steps.
- Check the gap at the connection. A large gap indicates a misalignment that needs correction before the joint is fully torqued.
- Inspect the member for damage. Look for bends, dents, and cracked flanges. Damaged members must be replaced or repaired by a qualified engineer.
Red flags to watch for:
- Bolts that are missing or stripped.
- Connection surfaces with paint or rust.
- Member flanges with visible cracks or bends.
Manage Rigging and Lifting Operations
The lifting operation is the highest-risk part of the erection process. Every lift must be controlled from the plan to the placement.
- Confirm the crane is level. Use a bubble level or digital inclinometer. A tilted crane changes the load capacity.
- Check the load chart. The load, radius, and boom length must fall within the rated capacity.
- Verify the rigging gear is rated for the load. Use the correct sling angle. A sling angle greater than 60 degrees reduces capacity.
- Confirm the tag lines are in use. Tag lines control the load swing. They must be long enough to reach the load from the ground.
- Check the communication plan. The signal person must have a clear line of sight to the crane operator. Use standardized hand signals or radio.
Red flags to watch for:
- Rigging gear with frayed slings or damaged hooks.
- Load swinging in the wind without tag line control.
- Crane operator working without a direct signal person.
Finalize Documentation and Sign-Off
The paper trail is as important as the physical work. A complete record protects the project, the crew, and the client.
- Complete the daily erection log. Record the members placed, the torque values, and any issues.
- Take photos of each major connection. Photos provide evidence that the work was done correctly.
- Review the inspection report. The engineer or inspector must sign off on each phase.
- File the as-built records. Update the drawings to reflect any field changes.
- Confirm the next phase is approved. Do not start the next phase until the current one is signed off.
Red flags to watch for:
- Missing torque records.
- No photos of critical connections.
- Work progressing without engineer sign-off.
Common Mistakes That Cause Rework
Most erection problems stem from small mistakes that are not caught early.
- Skipping the pre-installation inspection. This leads to discovering anchor bolt errors after the first member is lifted.
- Ignoring the weather. High wind or rain can stop a lift and damage a member already on the ground.
- Poor staging. Members staged out of order cause the crew to search for the next piece, slowing the sequence.
- Inconsistent torque. If one bolt is tight and the next is loose, the connection will not seat evenly.
- No communication. The crane operator, signal person, and ground crew must be on the same page. Miscommunication causes dropped loads.
| Check Item | Why It Matters | Red Flag |
|---|---|---|
| Anchor bolt torque | Ensures the structure is anchored correctly | Torque values below specification |
| Grout quality | Prevents voids that reduce pull-out capacity | Crumbling or hollow grout |
| Member plumbness | Prevents stress in connections | Beam out of plumb by more than tolerance |
| Rigging gear rating | Prevents slings from failing | Frayed slings or damaged hooks |
| Torque sequence | Ensures even joint seating | Bolts tightened out of sequence |
| Engineer sign-off | Confirms the phase meets design | Work starting without approval |
Frequently asked questions
What is the most common red flag a site supervisor should watch for during steel erection?
Anchor bolt torque values below specification. This is a direct safety risk because it reduces the pull-out capacity of the foundation.
How do I verify the erection sequence is correct on the day of installation?
Compare the sequence to the engineered erection drawing. If the crew is placing a member in an order that does not match the drawing, stop and check with the engineer.
What should I do if the weather changes during a lift?
Stop the lift immediately. Assess the wind speed and visibility. If conditions are outside the crane manufacturer limits or the site safety plan, secure the load and delay the operation.
How many photos should I take during the erection process?
Take photos of every major connection and every phase that requires engineer sign-off. This creates a complete as-built record.
Can I adjust the erection sequence in the field without approval?
No. Any change to the sequence must be reviewed and approved by the structural engineer. Unauthorized changes can compromise the structural integrity of the building.