How to Inspect Steel Profiles for Coating Defects Before Delivery
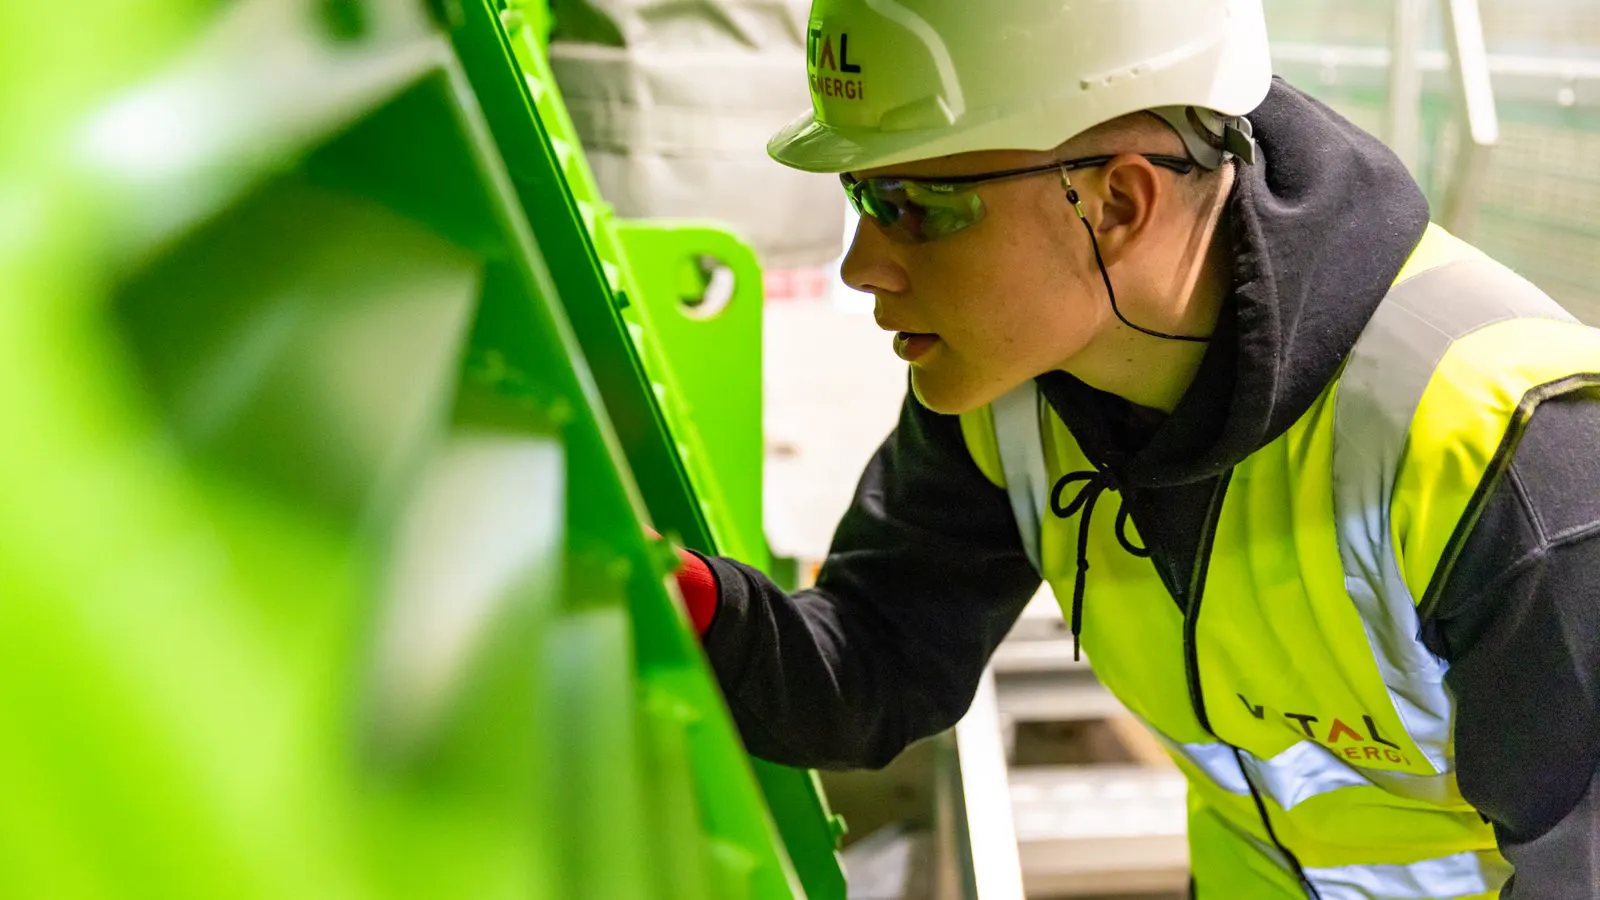
Inspect steel profiles for coating defects using visual checks, adhesion tests, and documentation review. This guide outlines specific steps to verify coating quality before delivery, helping you identify issues that could compromise steel structure building performance.
- Verify coating thickness and adhesion using standard tools before accepting delivery.
- Check documentation against the specified coating system and steel materials requirements.
- Record all visible defects with photos and measurements for supplier claims.
- Reject or flag components that fail the final verification step to prevent downstream problems.
Prerequisites and Tools Needed
Prepare the inspection area before opening the shipment. Clear a flat, well-lit surface large enough to lay out the steel profiles. If the site is outdoors, cover the components with tarps to prevent dust or moisture from affecting the coating during the check. Gather the required tools: a calibrated magnetic or ultrasonic thickness gauge, a calibrated adhesion test kit, a 10x magnifying glass, a soft white cloth, a marker, and a camera.
Gather the project documents before handling the first piece. You need the supplier’s coating certificate, the mill test reports for the steel materials, the original purchase order specifications, and the applicable industry standards referenced in the contract. Without these, you cannot judge whether a defect meets the acceptable threshold.
Step 1: Verify Documentation and Material Grade
Review the mill test reports first. Match the steel grade listed on the documents to the grade required in your purchase order. Steel materials vary by application, and using the wrong grade compromises the structural integrity before the coating even matters. Check the heat numbers and batch codes. These identify the specific production run and help trace any defects back to the source.
Next, review the coating certificate. It should list the coating type, thickness, and lot number. If the documents state the profiles are galvanized, confirm the zinc coating specification. If they are powder coated, check the finish color and gloss level. Missing documents or inconsistent heat numbers are a red flag. Do not proceed to physical inspection until the paperwork is verified.
Step 2: Perform a Visual Inspection for Surface Defects
Place each steel profile on the inspection table. Use a white light source at a low angle to reveal surface irregularities. Examine the entire length and width of each profile, including flanges, web, and cut edges. Look for pinholes, craters, runs, and incomplete coverage. Pinholes are tiny holes in the coating that expose the base steel. Craters look like small depressions, often caused by trapped gas during the coating process.
Use the magnifying glass to check high-stress areas, such as bolt holes and notched sections. These areas are prone to coating thinning or chipping. Record any defects with photos. Include a scale reference in the image, such as a ruler or a coin, so the size is clear. Mark the location on the profile with a soft marker. Do not scratch the coating with the marker.
Step 3: Measure Coating Thickness
Use the calibrated thickness gauge to measure the coating at multiple points. Take at least three readings per profile, spaced evenly along the length. Record the values in millimeters or microns, depending on the gauge. Compare the readings to the minimum thickness specified in your purchase order.
Check the flanges and edges carefully. These areas often receive less coating than the main body of the profile. If the gauge shows values below the specified minimum, flag the component. Do not average the readings. A single low spot can be a critical failure point, especially in coastal or corrosive environments.
Step 4: Test Coating Adhesion
Select a representative sample from the batch. Do not test every single piece, as this can damage the coating. Choose a location away from edges and bolt holes. Use the adhesion test kit to apply a small tape strip to the surface. Press the tape firmly with a clean cloth. Pull the tape off quickly and at a 90-degree angle.
Examine the tape and the surface. If the tape lifts a small piece of coating, the adhesion is weak. If the coating stays intact and the base steel is not exposed, the adhesion is acceptable. Repeat the test at three different locations on the same profile. Weak adhesion causes the coating to peel off over time, leaving the steel exposed to corrosion.
Step 5: Check for Undercoat and Primer Coverage
If the specified coating system includes a primer undercoat, inspect the surface for proper coverage. Some steel structures use a two-part epoxy primer before the topcoat. Look for bare spots or thin areas where the primer may not have adhered properly. Use the magnifying glass to check the edges of bolt holes. Primer coverage is critical because it provides the first layer of protection against rust.
If you see rust spots under the coating, flag the component immediately. Rust indicates that the steel was not properly pre-treated before coating. This can happen if the steel materials were not cleaned thoroughly or if the coating process was rushed. Do not attempt to sand down rust spots. The base steel is already compromised.
Step 6: Review Cut Edges and Fabrication Areas
Inspect the cut edges, drilled holes, and welded joints. Coating often does not cover these areas fully. Check for burrs, sharp edges, or exposed base steel. If the profiles were fabricated before coating, check the welds. Welds can cause thermal distortion that weakens the coating adhesion.
Look for paint splatter or overspray on adjacent surfaces. This is a minor cosmetic issue, but it can indicate a lack of control in the coating process. More importantly, check for any signs of grinding or sanding after coating. If someone sanded a defect after the coating was applied, the area may be bare and vulnerable to corrosion.
Step 7: Compare Against Acceptance Criteria
Create a simple checklist for the inspection. Use the table below to record findings for each steel profile. This keeps the process consistent and creates a clear record for the supplier.
| Check Item | Acceptable Standard | Action if Failed |
|---|---|---|
| Coating Thickness | Meets minimum spec | Reject or flag for supplier review |
| Adhesion | Tape test passes | Reject or flag for supplier review |
| Surface Defects | No pinholes or craters | Mark and photograph for claim |
| Documentation | Matches purchase order | Withhold acceptance |
| Cut Edges | No exposed bare steel | Flag for re-coating |
Review the checklist for each component. If any item fails, mark the profile as “Non-Conforming.” Place these items in a separate area. Do not mix them with approved components. This prevents accidental installation of defective steel profiles.
Common Mistakes to Avoid
Do not skip the documentation check. Many inspectors focus only on the physical product and miss missing certificates or wrong steel grades. Do not rely on a single visual check. Light angle and surface texture can hide small defects. Do not average coating thickness readings. A low spot at a bolt hole is worse than a low spot in the middle of a flange.
Do not use uncalibrated tools. A thickness gauge that is out of range will give false results. Do not ignore minor defects. Small pinholes can grow into large corrosion spots over time. Do not accept “close enough.” If the coating does not meet the specified standard, it is not acceptable for a long-term steel structure building project.
Final Verification Step
After completing all checks, review the inspection report for every steel profile in the batch. Confirm that the supplier has received the defect list and photos. Request a formal response from the supplier. Ask for a corrective action plan or a replacement shipment. Do not proceed to installation until the supplier confirms the issue is resolved.
Sign off on the inspection report. This document serves as proof of due diligence. If a coating defect causes corrosion years later, this report protects your project. Keep a copy in the project files. The steel profiles are only as good as the quality control applied at delivery.
Frequently asked questions
How many steel profiles should I inspect from a large shipment?
Inspect every profile if the batch is small. For large shipments, inspect a statistically significant sample, but check 100 percent of the documentation. If any sampled profile fails, inspect the entire batch.
What is the minimum coating thickness for galvanized steel?
The minimum thickness depends on the gauge of the steel and the application. Always refer to the specific standard cited in your purchase order. Do not guess.
Can I repair a coating defect on-site?
It is generally not recommended. Field repairs are difficult to control and often do not meet the original coating standard. Request a replacement from the supplier if possible.
What tools do I need for a basic inspection?
You need a thickness gauge, an adhesion test kit, a magnifying glass, a marker, and a camera. A white light source is also helpful for revealing surface irregularities.
What if the documentation is missing?
Withhold acceptance of the materials. Do not proceed to installation. Contact the supplier immediately and request the missing mill test reports and coating certificates.